Ultrasonic

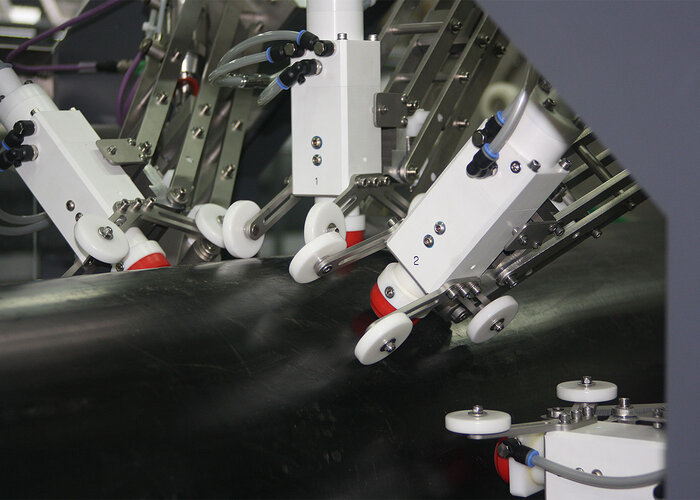
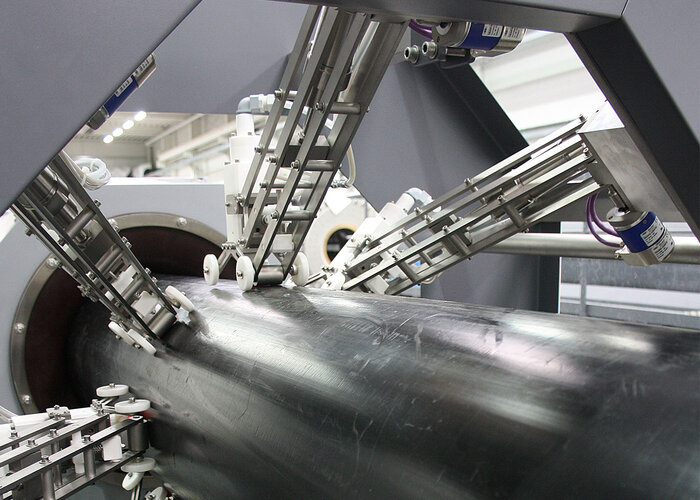
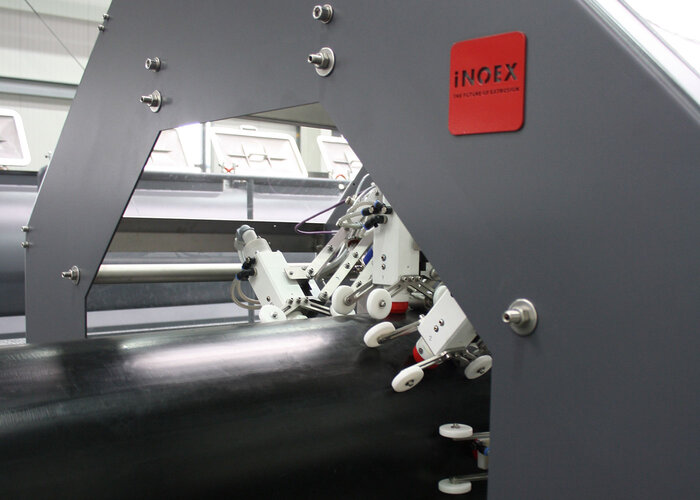
In ultrasonic measurement, signals of the ultrasonic frequency range are generated, transmitted, received (echoes) and then processed and evaluated. Based on the transit time measurement of the reflecting ultrasonic echoes at the outer and inner pipe wall as well as at the potentially existing boundary surfaces (in case of multilayer pipes), the individual layer thicknesses can be calculated. This requires the coupling medium of water, as well as precise, digitized ultrasonic evaluation electronics. The AUREX ultrasonic systems combine a high accuracy and simple operation for wall thickness and diameter measurement. This means that single-layer and coextruded pipes and tubes can be reliably measured down to a layer thickness of at least 0.05 mm. The interaction of measurement and control ensures overall stabilization of the production process and an efficient production. The early detection of thin and thick sections and the corresponding adjustment at the die leads to a further reduction of production costs. The AUREX systems are available for geometry measurement from 0.5 - 3,000 mm diameter and for 100% wall thickness measurement and flaw detection up to 630 mm diameter.

Advantages:

  • Detailed product information (wall thickness, diameter, eccentricity, ovality)
  • Continuous verification of compliance with product specifications
  • Process automation through control of wall thickness, diameter, weight per meter and mass throughput
  • Consistent production due to constant wall thickness and centering of tubes and hoses
  • Material savings of up to 5%

SUITABLE PRODUCTS FOR YOUR APPLICATION

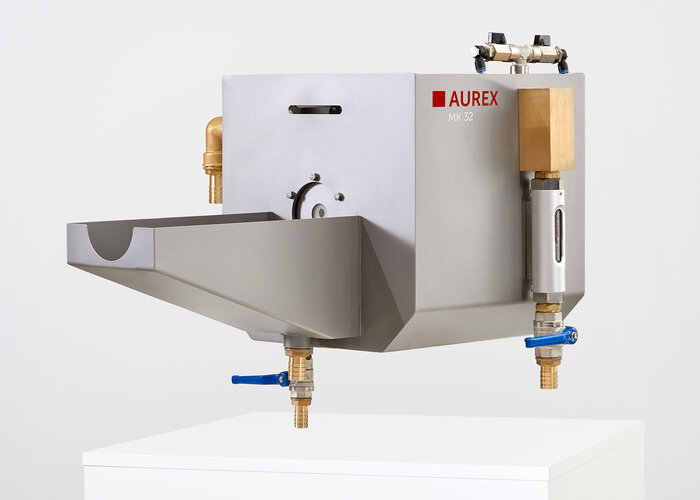
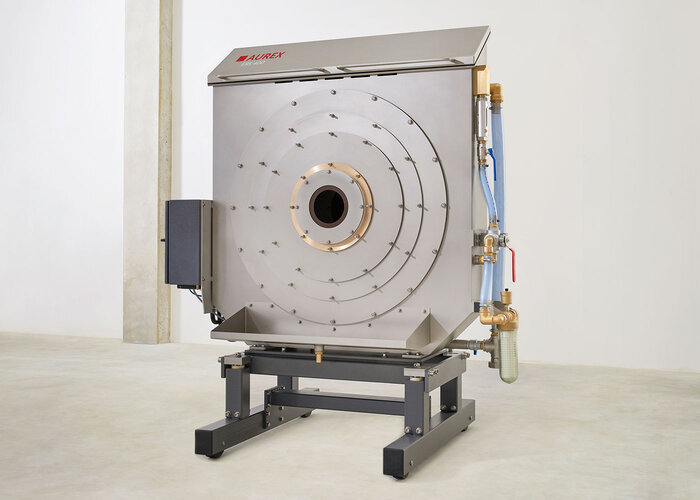
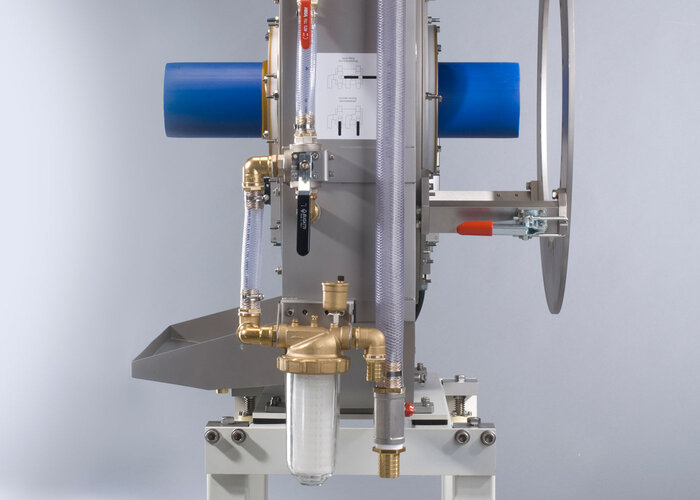
The AUREX MK is the complete solution for pipe dimensions from 0.5 - 400 mm. It enables compliance with the specified tolerances for wall thickness, eccentricity, diameter and ovality. Thanks to the combination of high-quality electronics with innovative measuring methods, up to 7 layers from 0.02 mm wall thickness can be evaluated.

In addition to the standard measurement for control and visualization of the product, the "Fast Specification Check MK/AFM" is optionally available, which allows a fast wall thickness check. Since the AUREX MK does not completely cover the pipe at the circumference, this wall thickness check can be used, for example, to detect typical thin section rings caused by jerking of the produced pipe at the entire circumference.


AUREX MK 20

  • For installation in a water-flooded customer tank with internal dimensions larger than 150 x 150 mm
  • No further seals required
  • The two-part guides can be inserted after start-up
  • A threading slot is available for small diameters

    AUREX MK 32, MK 63, MK 125

    • Simple assembly in a water basin
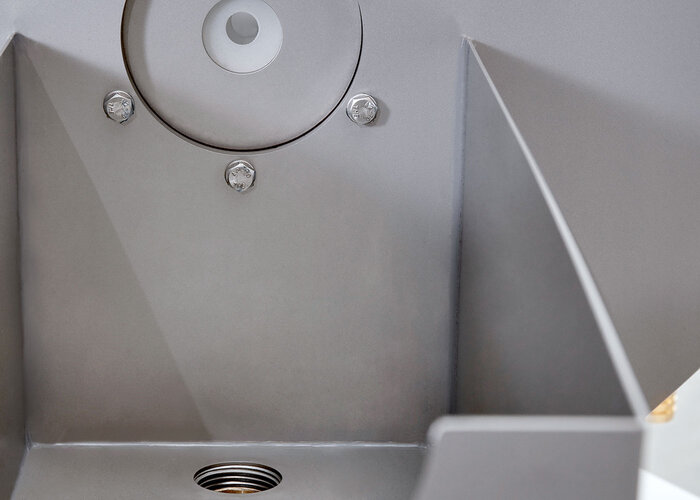
    • Pipe guidance is ensured by means of half-shells which fall out automatically if the product becomes thick, thus preventing damage to the system
    • A folded version is optionally available for MK 32 and MK 63

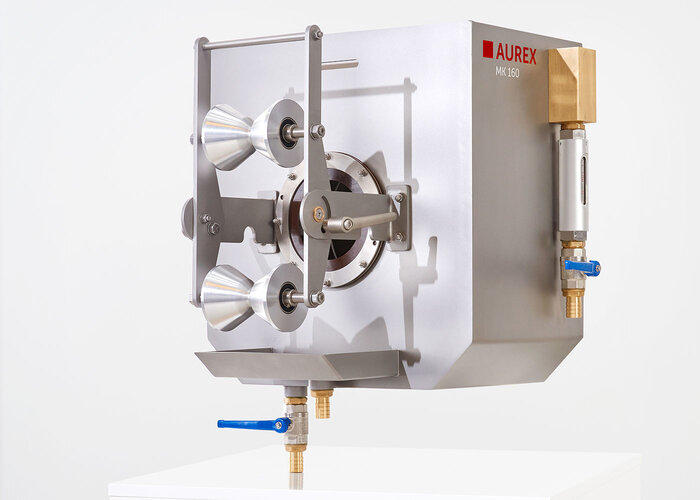
    AUREX MK 160, MK 250

    • Simple installation in a water tank
    • The double seal at the inlet allows the measuring chamber to be flanged directly to the vacuum or cooling tank via a closed adapter or via an open adapter
    • The easy-to-use pipe guide via double cone rollers can be adjusted after start-up via a tilting device

    AUREX MK 400

    • Large working range without sensor adjustment
    • Extremely narrow design in extrusion direction, the measuring chamber is quickly filled with water and ready for use
    • Thanks to the low weight, direct flange-mounting on the tank is possible without a base frame
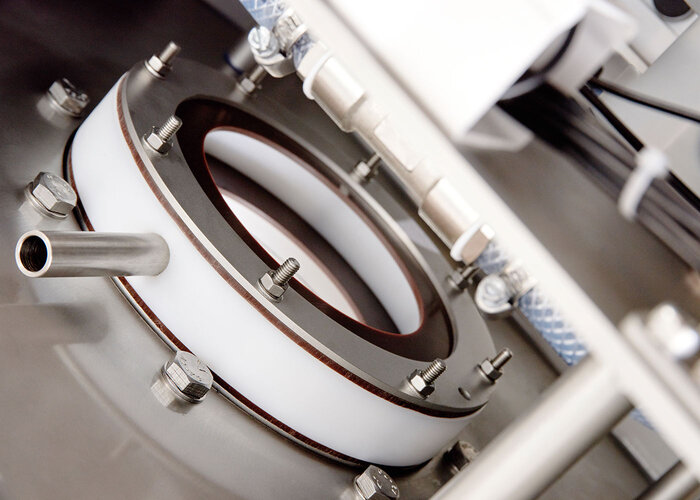
    • Folding device for easy change of the seal packages
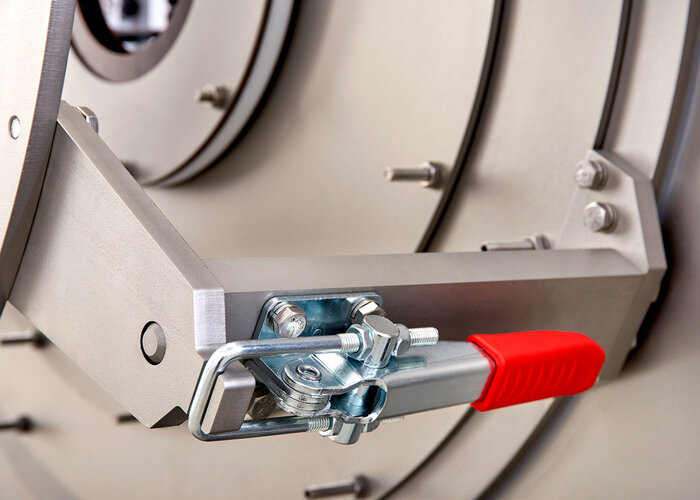
    • Tool-free changing of the seal packs via quick-release fasteners (changeover time within a few seconds)
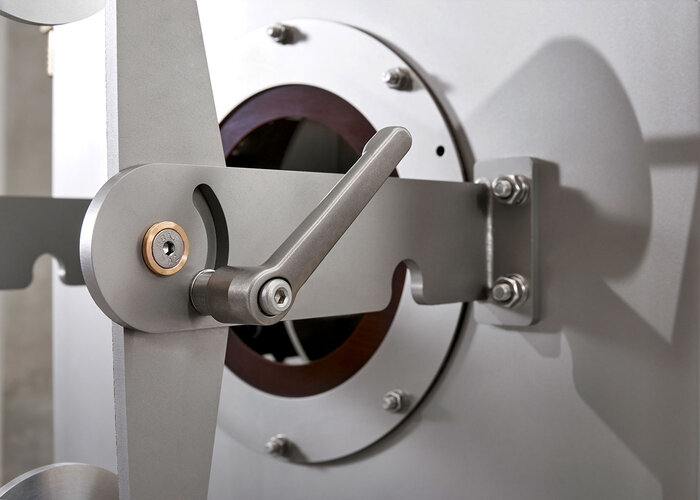
    • Pipe centering via double cone rollers, operated by a hand crank
    • Integrated water filter prevents system contamination
    • Sensor and sensor cable exchange possible during production
    TypeNumber of sensorsPipe dimensions (mm)
    MK 204 / 80,5 – 20
    MK 324 / 6 / 80,5 – 32
    MK 634 / 6 / 810 – 63
    MK 1254 / 6 / 810 – 125
    MK 160816 – 160
    MK 250832 - 250
    MK 400832 – 400

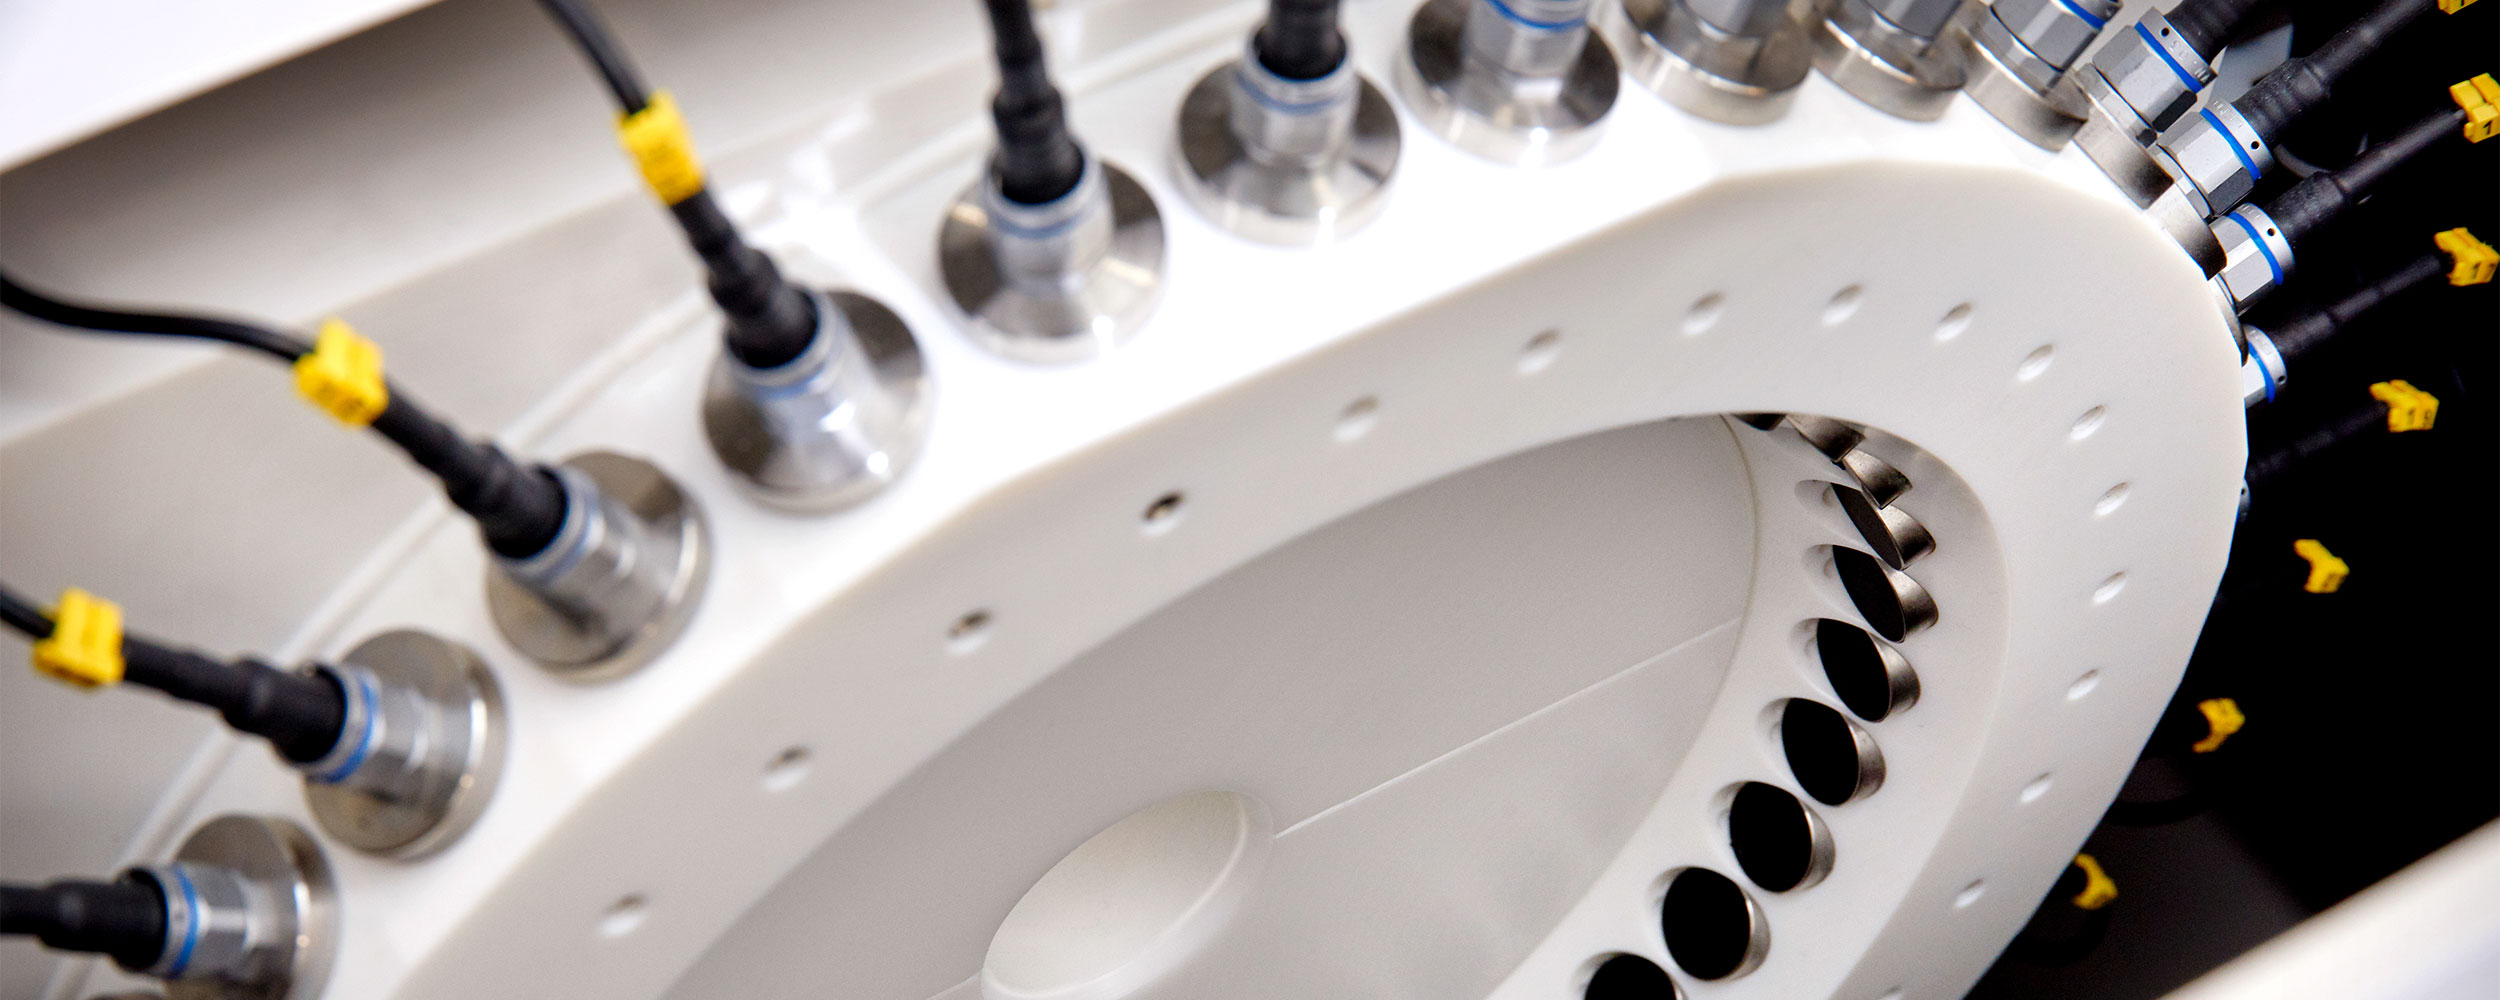
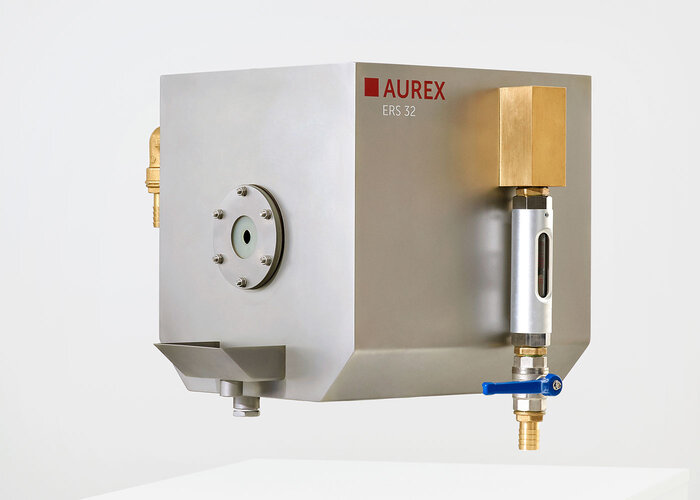
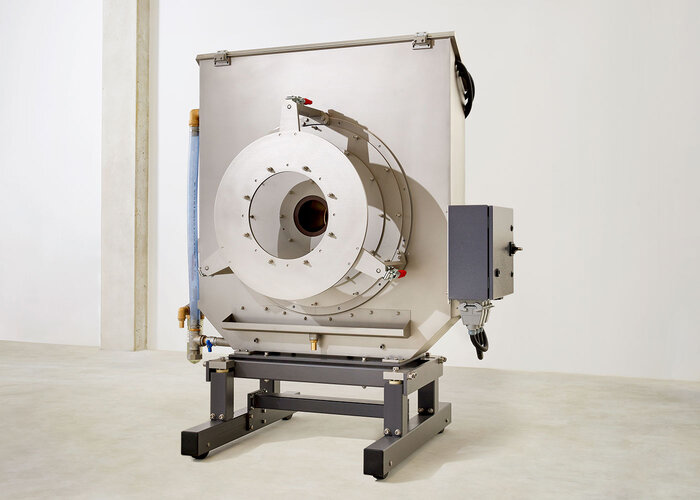
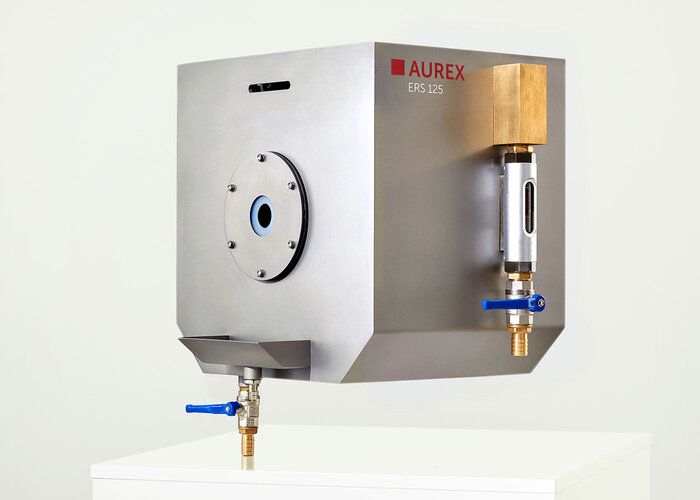
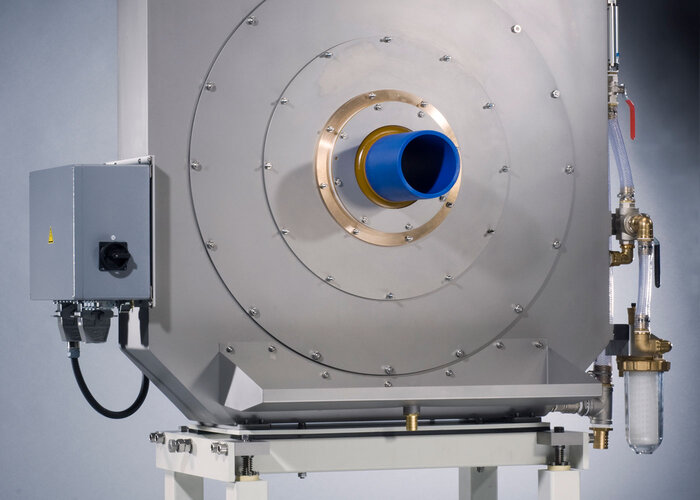
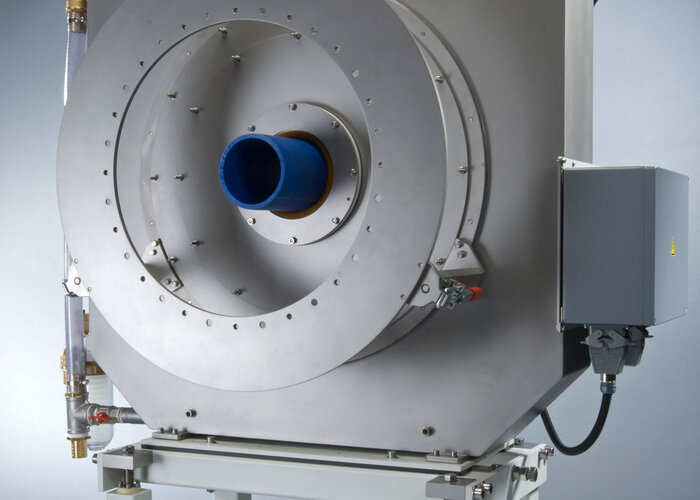
    The AUREX ERS uses the measuring technique of the Electronic Rotating Scanner (ERS) principle. With this active-passive measurement, every point of the measured object is detected 100% in longitudinal and circumferential direction, so that even minimal tolerance deviations are detected. Coextruded layers can also be detected as soon as they are physically detectable by ultrasound. The AUREX ERS is complemented by the optional "Quality Check", a wall thickness error check. The "Quality Check" detects anomalies on the surface, in the material and on the inner surface of the pipe.

    Further advantages/features:

    • 100 % wall thickness measurement for pipe dimensions up to 630 mm in diameter
    • Electronic rotation up to 16,000 rpm
    • Evaluation of vertical and angular signals reflected from the tube by activating adjacent sensors
    • Highest measuring resolution and identification of smallest production variations
    • Integrated self-diagnosis and optimal adaptation of the measurement to the various measuring tasks
    TypeNumber of sensorsPipe dimensions (mm)Measuring range extension (mm)
    ERS 32181 – 32-
    ERS 632410 – 63-
    ERS 1253610 – 125-
    ERS 1603032 – 160-
    ERS 2503640 – 250-
    ERS 40036225 – 40090 – 225
    ERS 63072250 – 63090 – 250

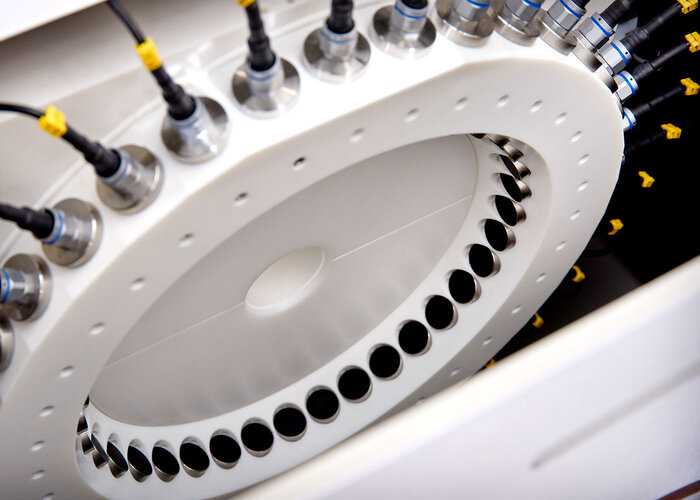
    The AUREX AFM measuring chambers are flanged directly to the outlet of the vacuum tank. With up to 24 sensors a reliable and precise ultrasonic measurement with a centric pipe guidance is guaranteed. The measuring chambers are available for a diameter range of 63 - 630 mm. The AUREX AFM performs wall thickness and diameter measurement in parallel according to the number of sensors. The measurement data is documented for comprehensive quality verification. Since compliance with the tight tolerances for wall thickness, eccentricity, diameter and ovality is mandatory, detailed product information is available at any time.

    Optionally, the AUREX AFM can be equipped with the "Fast Specification Check MK/AFM", which enables a fast wall thickness check. Since the AUREX AFM does not completely cover the tube at the circumference, this wall thickness check can, for example, detect typical thin section rings, which are caused by jerks of the produced tube at the entire circumference.

    Further advantages/features:

    • Large measuring range with measuring range extension
    • Parallel measurement of wall thickness and diameter
    • Very robust mechanics
    • Separable adapter via quick release fasteners for easier seal change
    TypeNumber of sensorsPipe dimensions (mm)Measuring range extension (mm)
    AFM 5008 / 16250 – 50063 – 250
    AFM 6308 / 16 / 24315 – 63075 – 315

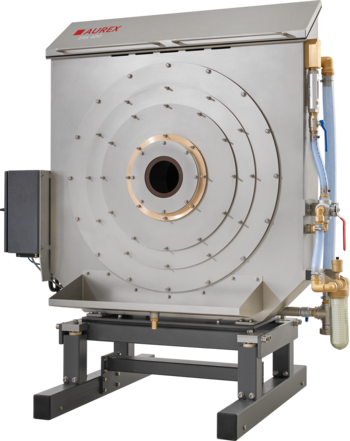
    The AUREX XXL is the solution for large pipes with a diameter of up to 2700 mm. The system works with 8 water-coupled ultrasonic sensors that can be pneumatically adjusted. This is possible without conversion in case of a change of dimensions. Minimum wall thickness tolerances are obtained via the downstream control loops of the weight per meter and thin point control and production is perfected. The better centering enables considerable material savings, especially for large pipes.

    Further advantages/features:

    • Production quality assurance by measuring and controlling wall thicknesses and diameter
    • Documentation of production
    • Material savings of up to 5%
    • Large measuring range
    • Proven measuring and control principles
    TypeNumber of sensorsPipe dimension  (mm)
    XXL 8008200 – 800
    XXL 12008250 – 1200
    XXL 16008609 – 1670
    XXL 200081000 – 2000
    XXL 250081500 – 2500
    XXL 270081800 – 2700

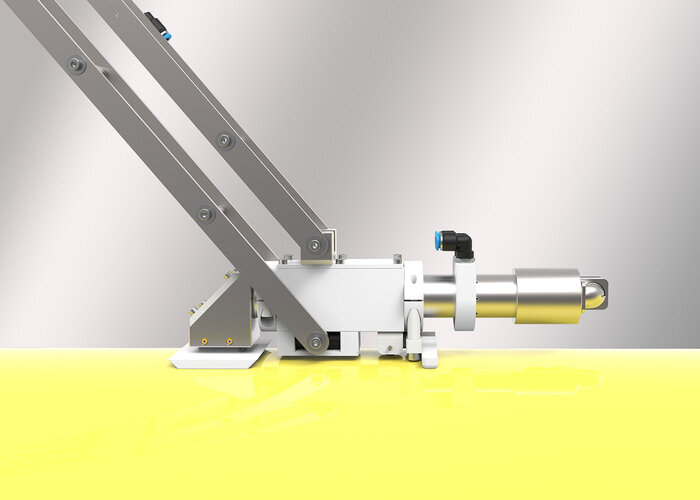
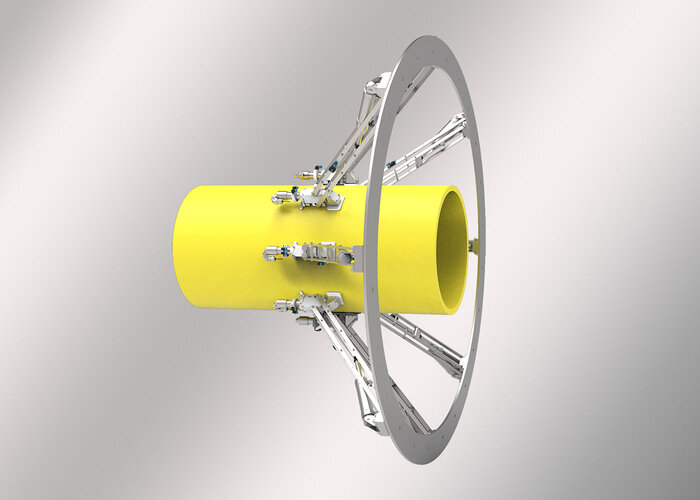
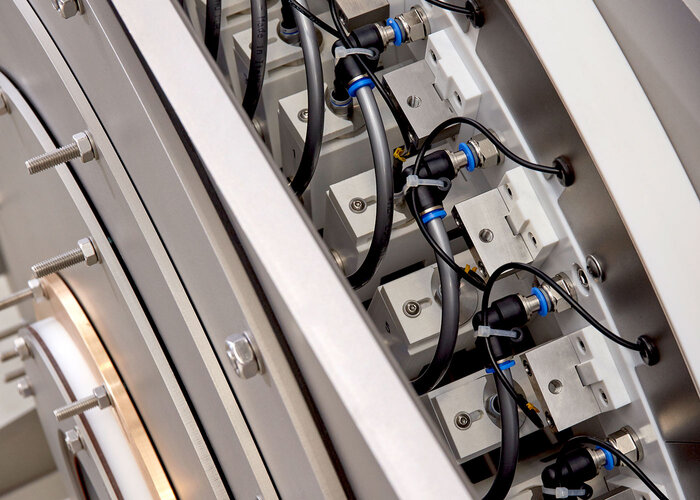
    ECCO is the efficient solution for fast pipe centering. Especially for thick-walled large pipes, with low line speeds and high mass throughput, the start-up process is difficult, time-consuming, and associated with high raw material costs. ECCO makes it possible to measure the wall thickness distribution shortly after the pipe calibration. The ultrasonic sensors, which are mounted directly behind the calibration sleeve in the vacuum tank, are pneumatically and flexibly moved up to the respective pipe geometry after line start-up and adapted to the pipe. The measurement starts and all information on wall thickness distribution for fast die head centering is available. And this already after production of only a few meters. The calibration and the distribution of the wall thickness on the circumference can be stored dimension-dependent and is available again at the next start of the same pipe dimension.
    Further advantages/features:

    • Significant reduction of start-up scrap
    • Fast pipe wall centering
    • Fast reaching of product specifications after product start-up
    • Fast detection of product variations
    • Uniform wall thickness distribution
    • Suitable for PE, PVC, and PP with an outside diameter from 200 mm (wall thickness range PE from 8 - 140 mm, wall thickness range PVC and PP from 8 - 40 mm)
    TypeNo. of sensorsPipe dimensions (mm)
    ECCO 6304/8200 - 630
    ECCO 8004/8200 - 800
    ECCO 12004/8250 - 1200
    ECCO 16004/8609 – 1670
    ECCO 20004/81000 – 2000
    ECCO 25004/81500 – 2500
    ECCO 30004/82000 – 3000


    Downloads

    AUREX MK Data sheet
    Download
    AUREX ERS Data sheet
    Download
    AUREX AFM Data sheet
    Download
    AUREX XXL Data sheet
    Download
    AUREX ECCO Data sheet
    Download

    Subscribe to the newsletter

    Subscribe to the newsletter and never miss exciting news about product development, events and internal topics from the iNOEX world again.

    Your Partners

    Contact us!

    Our sales team is available to you as a competent partner for individual advice at any time.


    Sales Team

    For all questions about our products.

    T +49 5422 60507-0
    sales@inoex.de 

    References

    iNOEX is proud of the many successfully installed systems around the world. They are a strong reflection of the overall performance of the iNOEX team. Please check out our Success Stories with exciting project descriptions and be convinced of the satisfaction of our customers.

    Show References